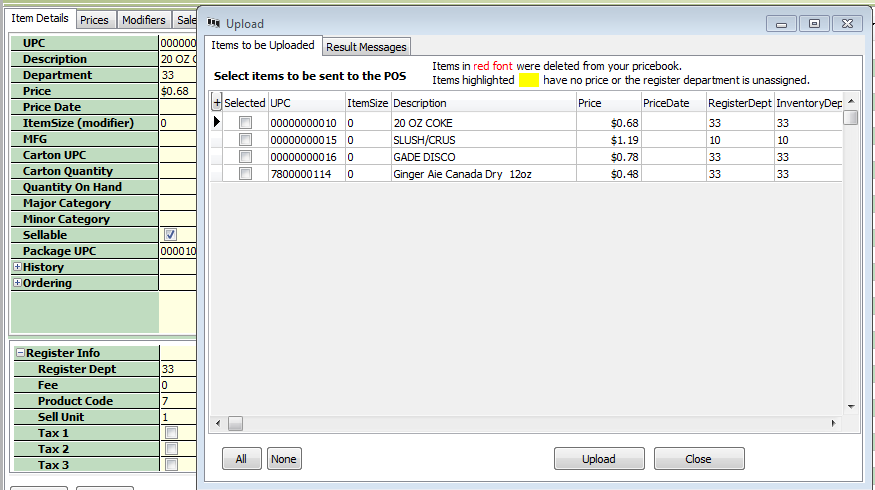
This function will upload all items you select to the register. Items you have added or changed are automatically added to the list of items available for upload.
Clicking the All button selects all items in the list. You can select/deselect each item by clicking in the box next to the item. This is useful if you do not want to upload everything in the list.
Clicking this button will upload all selected items to the register.
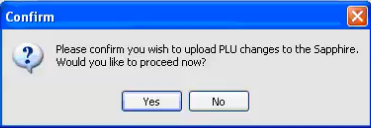
The next steps may vary a bit depending on your register:
1. Select Yes to continue the Upload or No if you want to stop at this point.
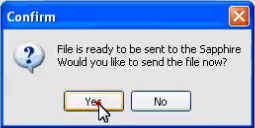
The system prepares the file:
2. After the file is prepared you can continue by clicking Yes or you can click to stop at this point.
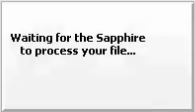
3. You will get a status message while the system uploads to the register. It may take a while depending on number of items you are uploading.
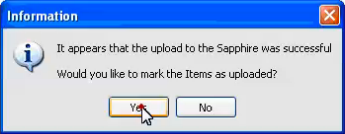
4. Once My Pricebook has finished uploading the changes, it will ask you if you want to mark the changes as uploaded. Clicking Yes will clear the changed items from the upload list. If you saw an error message come up in the Status window in Step 3, you may want to click No so you can leave the items in the Upload list and try the upload again. . Typically, these results do not need to be saved or printed
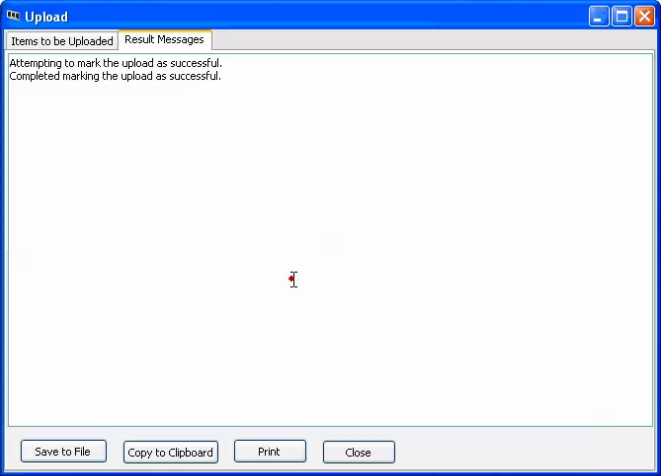
5. At completion My Pricebook will display the result messages from the Upload steps. You can Save these messages to a file, Copy these messages for pasting into another program like Notepad or Print these messages to your printer. Once you click Close the messages are removed and the system takes you back to the Pricebook screen. Typically, these results do not need to be saved or printed.