Import the Audit File

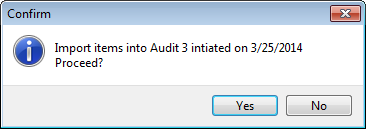
In this section you will import an audit file into My Pricebook. The Audit file will need to be on the computer, or on an inserted USB drive. You will need to know the name of the file as well.
 
If the Audit file was uploaded from a hand held device, the name of the file will be Audits.txt.
 
Once you complete the import, go to Process the Audit file.
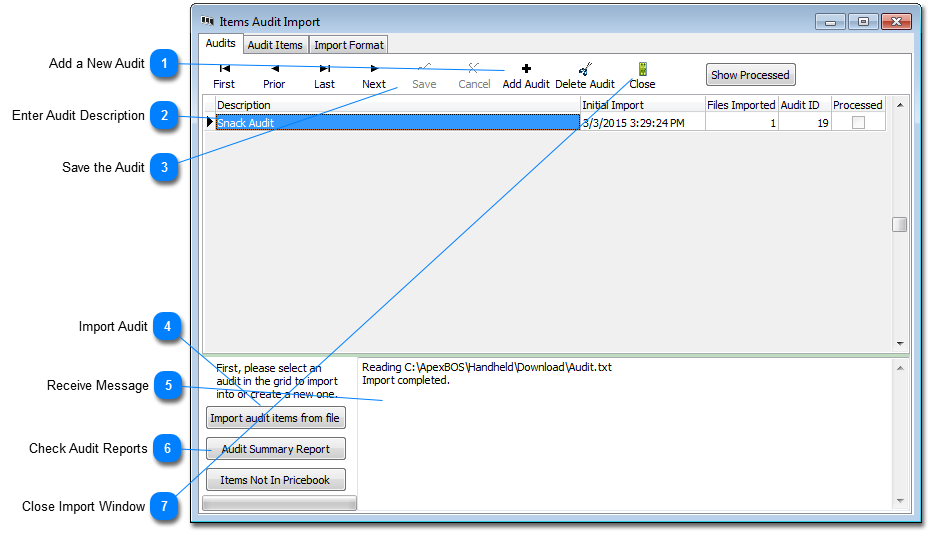
 
Import the Audit File
1

Add a New Audit

1. Add a New Audit 
Click add a new Audit. This will add a new line to the Audits grid and insert the date and time in the Initial Import field and add an Audit ID in the last field.
2

Enter Audit Description

2. Enter Audit Description
Enter a description for this Audit
3

Save the Audit

3. Save the Audit 
Click Save to save your work to the grid.
4

Import Audit

4. Import Audit
Click on 'Import audit items from file' Button.
1. You will get the Confirm Window:
 
  The Audit that was added in Step 3 should have the same Audit ID as in the confirmation window.  Click 'Yes' to proceed or 'No' to go back.
2. A Browse window will open. You will need to find and select the Audit file you are going to import.
   
                                 You can double click on the Audit file or click on the Audit file and then Click the 'Open' button.
5

Receive Message

5. Receive Message
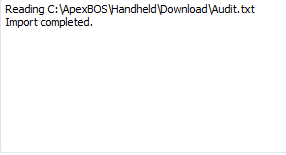
When the import completes, you will receive a message in the message box.  The 'Files Imported' field will increase by 1.  You can import multiple files into one Audit.
Please make sure you see the "Import completed.  xxxx records were added'  If no records were added you me need help getting the system to recognize the Audit file.  Please call Support.
6

Check Audit Reports

6. Check Audit Reports
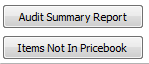
This is optional. Audit reports can be run and checked here. The can also be run from the Audit Processing screen.
7

Close Import Window

7. Close Import Window
Click the Close icon or the Red X to close the Import window.